Sunday, September 18, 2016

The Popular Scribbles Roses

Hello Everyone,

I want to thank the wonderful ladies for coming out to my class yesterday.  We had a very fun and productive afternoon!   The following is the third card that we made in class.

The scribbled roses are so popular and made by many companies now.  When I first saw them, I thought they were just ok. Then I started seeing samples all over Pinterest and they started to grow on me to the point where I ordered the set from the Frantic Stamper and had to try them out.


I've also noticed that the color combo of gold, black and white is very popular now and so I tried it out.  When I think of these colors, I think of an elegant evening dress and I think it came across in this design.

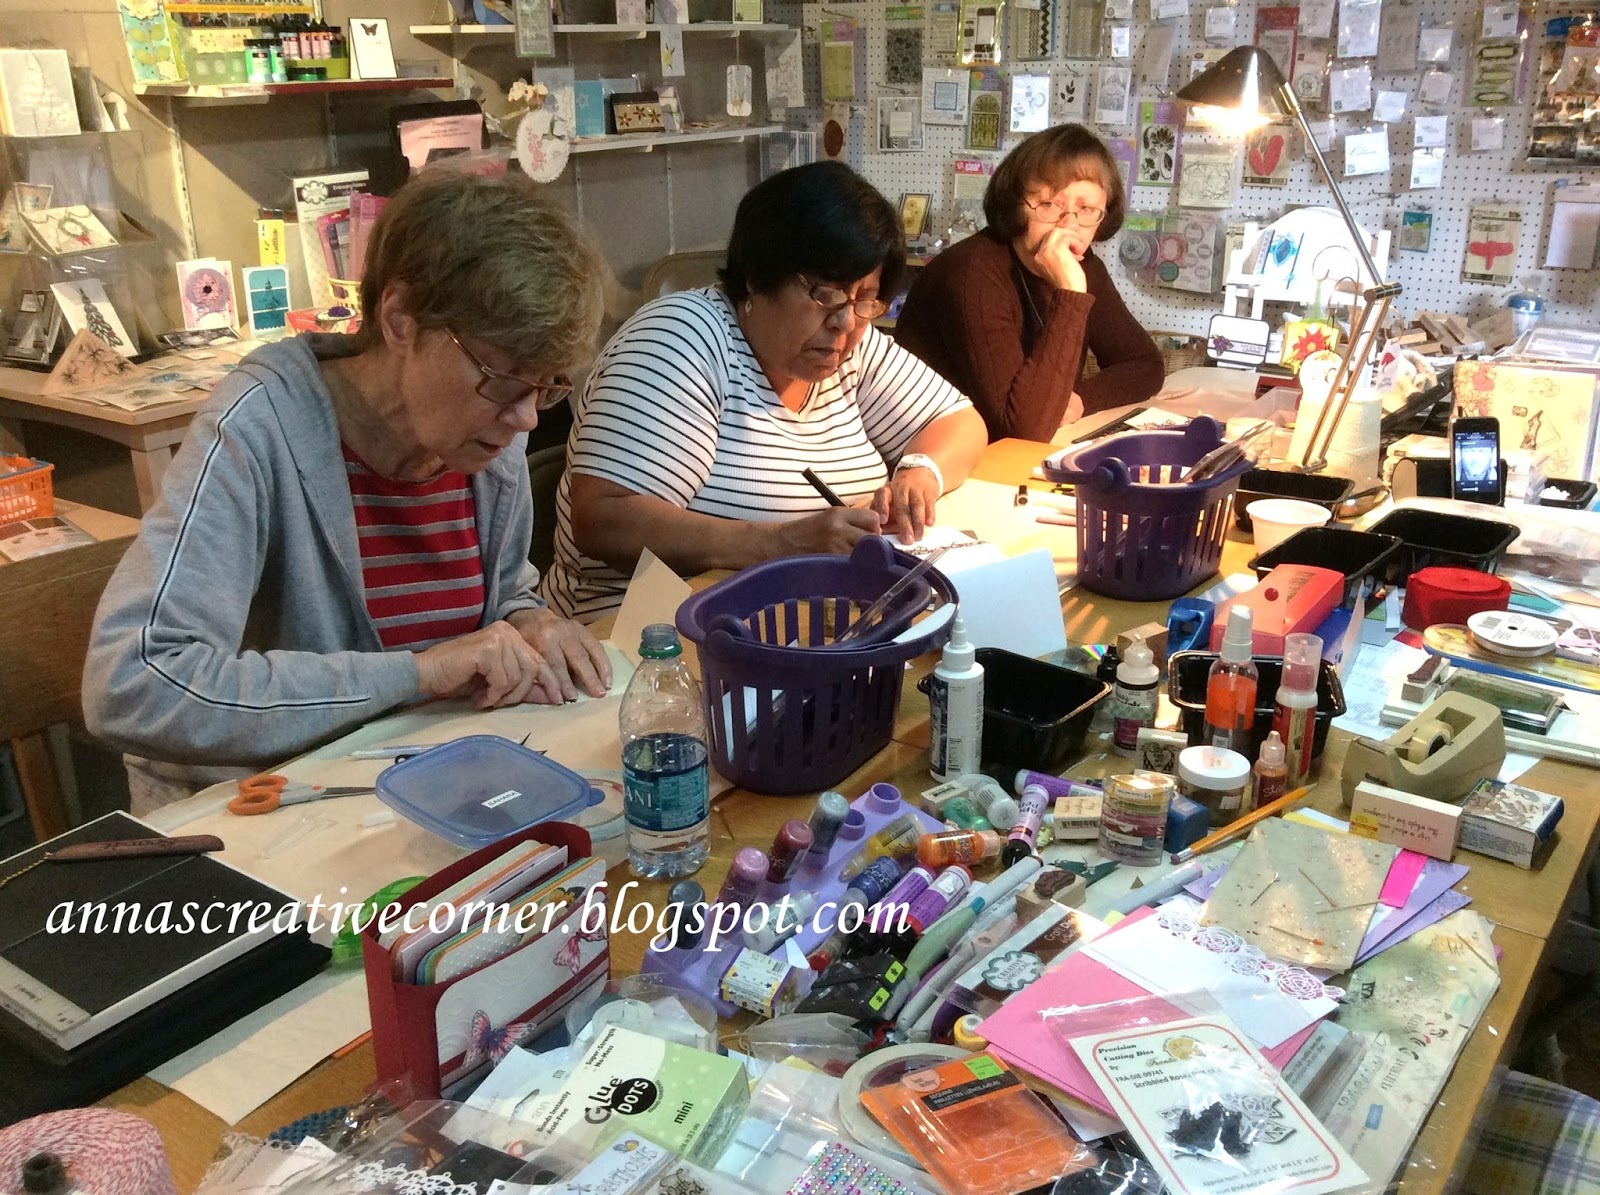
Here are some pictures of the ladies working diligently on their works of art.  You can almost see the smoke coming out of their brains! But believe me, we also had quite a few laughs during the afternoon!  I also want to take the time and thank Ginny for helping with the cutting for the class.  She cut all the black roses!  Thanks again Ginny! You saved me so much time!!!


And here is a picture of all three cards that were made in class!


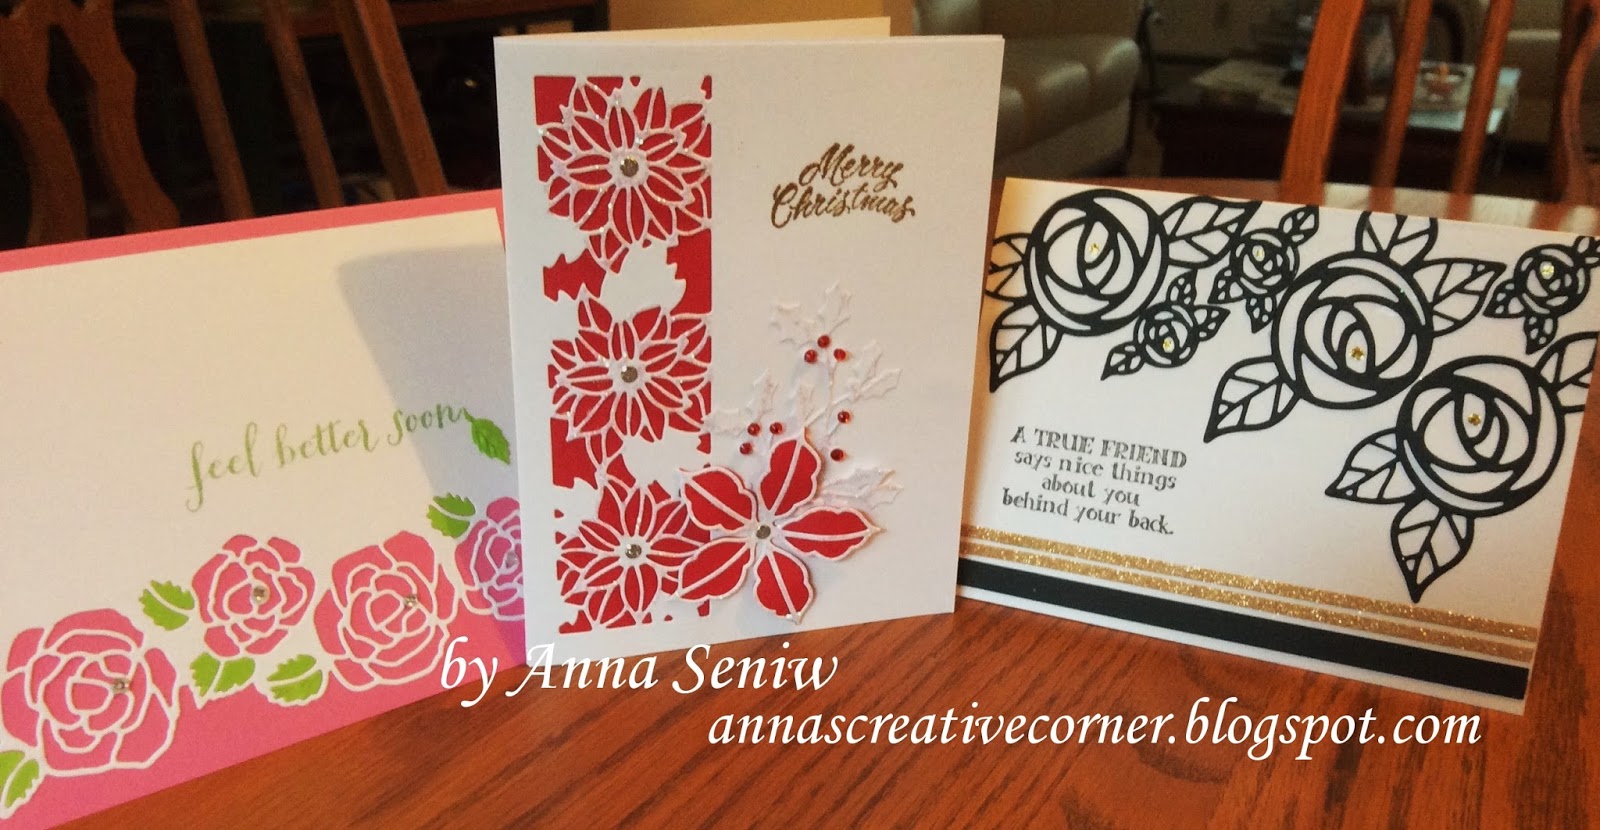
You can read more about the rose border card HERE. And details about the poinsettia card is HERE


Hope you're having a fabulous day and I look forward to seeing you in my next class!
                 ~Anna


Supplies used for Scribbled Roses card:
Dies:    Frantic Stamper Scribbled Roses
Stamps:    Impression Obsession True Friend
Other:   Micro fine glitter in sahara, Gold stickles

.

Tuesday, September 13, 2016

Sue Wilson Poinsettia Mini Striplet and Poinsettia Dies

Hello Everyone!

Today I have a poinsettia card to share with you.  It's a simple design, yet with the sparkle of the stickles, it makes a pretty Christmas card.


Supplies used:

Dies:   Sue Wilson Poinsettia Mini Striplet, Poinsettia set of outlie and complete petals, Holly leaves
Stamps:   Serendipity Stamps - Merry Christmas
Other:   Stickles, gems, and peel offs

Thanks so much for stamping by,
            Anna

Wednesday, September 7, 2016

Beautiful Ukrainian Poppy!

Happy Wednesday All,

It's hump day and a short work week! Yay!!!

Today I would like to share with you a poppy flower card.  Now, being Ukrainian, I was thrilled when Sue Wilson came out with the Exquisite Poppy die set; because every Ukrainian needs EVERYTHING poppies!  I myself have a large embroidered framed poppies piece (38" X 18"), silk poppies in an Ukrainian vase and even a painting of poppies! I was so excited about being able to make poppy cards now!!!

I started cutting the flowers and was not pleased at all with the way they looked. They just did not look like poppies. I tried red card stock, then white card stock. Tried molding them on my mat, and still they didn't look like poppies. I just couldn't figure out what was wrong. I was so discouraged.

I couldn't sleep because of my dilema until I thought of doing a search on youtube! I was so hoping that Sue Wilson used them in a video. And sure enough she did!  She created a beautiful card showcasing 3 poppies.  You can see the card and video HERE.

Sue's tip on cutting the poppies did the trick!!! She used crepe paper!!! Of course! It made the flower realistic and lightweight!  I couldn't wait to get to the Dollar Store the next day to get some crepe paper streamers!!!  And here is my card; the crepe paper made ALL the difference.


I'm very pleased with the way it turned out! And it's perfect for ANY occasion! 

Supplies used:

Dies:   Sue Wilson Exquisite Poppy set, Sue Wilson Olive branches, Marianne Creatables Flower filler
           Impression Obsession Rectangle 6 in 1 frame
Embossing folder:  Sizzix


The lesson here --- the right paper goes a long way!!!

Thanks so much for "stamping" by,
           ~Anna

Wednesday, August 31, 2016

Simple Birthday Cupcakes

Happy Wednesday!

Here are two birthday cards I made over this past weekend.  And literally, the stickles was drying on the second card while I jumped into the shower to get ready for the 50th party I was going to!!! LOL


I needed to make the card for a friend's 50th birthday and I thought that I was finally going to use my "tool" dies, BUT that didn't happen. The week flew by and I didn't even start with pulling the colors together. So, on Friday I decided to make a cupcake card after a browsed Pinterest over the past few days. Next our Matushka left me a message and was hoping that a had an extra card lying around for our Bishop's birthday!  I had to laugh..........as everyone knows that I have A LOT of sample cards, but not to use. Just like the shoemaker's kids not having shoes, I'm the card maker with no cards! LOL.   But I couldn't say no, I mean it was for the Bishop and I truly felt honored that Matushka thought of me. So, I told her that I did have pieces cut for a birthday card that only needed to be put together. Or since I was planning to make Bill's card in the morning, and if I liked the way it was developing, I would make another card at the same time.

Well, as you can see, I ended up making two cupcake cards! I would have loved to have made a more elaborate card for the Bishop, plus at least a 5X7 card, so that it would be big enough for everyone to sign, BUT time just didn't let that happen.

As I was creating the card, I really liked it; it is so cute!  Matushka loved it and I was very thankful!


Here are close ups; you can see the detail of the embossing folder.  


As you know, I'm so in love with the teal color combo. Also, notice that I only used strips of teal card stock underneath the saying; a great way to save on colored card stock! 
 
Lastly, the bit of stickles on the frosting and candle was just enough to make everything pop!
 
I know I will be using this layout again; it's simple, cute and pretty fast! You can make several of these pretty quickly!
 
 
Supplies used:
 
     Dies:      Marianne Creatables Cupcake die (it includes the candle and two different cupcake frostings)
     Embossing folder:     Cuttlebug Birthday Sayings
     Stamps:    Hero Arts Birthday sayings clear set
     Other:      Stickles and gems
 
 
Thanks so much for "stamping" by!
               ~Anna


Monday, August 15, 2016

Christmas Joy

Happy Monday!
Hope you are enjoying the summer and it's not too humid where you are!  We've been having a heat wave and the humidity has been horrible!  I don't remember when it was this bad.  Yesterday was better and I think it will improve slowly.  (I can't complain too much though, since I do hate the winter cold and snow!)

So, thinking about winter, I'd like to share with you a Christmas card I made and used in a class this past weekend.  I got the inspiration from Sue Wilson, the designer of the Joy die!  I saw the card she made with this die and I just fell in love with this color scheme; cream and gold is such an elegant look!  You can see Sue's creation HERE.

Sue Wilson's cards are actually beautiful pieces of art because she makes the cards quite large; usually 5X5 or 6X6.  My card is a regular A2 size card.  I didn't have a large nativity star die and so I went with the bells.  I also added micro-fine glitter to the edges and lots of stickles to the "snow" on the card.  I am really pleased with the way it turned out.


Now, Kittie Caracciolo is another talented designer and if you go to HER BLOG, you can see this die set used in the traditional red and green color scheme; very simple, yet also elegant.

This die was released in the winter of 2014, (and I finally used it! Yay!) I am happy to inform you that it is still available!  Please let me know if you want to reserve it for yourself!

Supplies used:
Dies:    Sue Wilson, Joy, Impression Obsession small Christmas charms, and small pine branches
Other:  Sizzix/Hero Arts "Snow" embossing folder, Micro fine glitter in Sahara, stickles

Thanks so much for stopping by,
       ~Anna

Friday, August 12, 2016

Beautiful Rose Border

Happy Friday!
Today I want to share with you a new card I made with the new "Rose Border" die from Frantic Stamper.  When I saw the die, I couldn't wait to get!!! And I just received it this week and here is my sample!


A very simple card, but still very pretty and elegant!  In addition, it is pretty quick to make!  The only tricky part is paper piecing the green leaves in the correct area.

This card will be part of the Roses Card class that will be scheduled for next month!

Supplies Used:

Dies:      Frantic Stamper, Rose Border
Punch:    Nelli Snellen rose leaves punch and embosser
Stamp:   Hero Arts

Thanks so much for stopping by,
           ~Anna

Monday, July 18, 2016

New Sympathy Die from Impression Obsession

Happy Monday!

There comes a time when we need to make a sympathy card, and in those times we like to create something beautiful for the recipient.  This die helps you do just that.  Once I saw this new die in the new release, I imaged that if I add a few flowers, it would make the perfect card.

 So simple, yet very pretty.  

Next, I reversed the colors - cut the die in white and layered it on a colored background. 

And, lastly, a sample with just the "sympathy block" die and a border.  This of course is when you don't have the time to decorate the card, but it still comes out very nicely.


Supplies used:

Dies:  Impression Obsession "sympathy block", rectangle borders and stitched rectangle borders
          tiny  flowers
          small butterflies and medium butterflies
          Cheery Lynn cherry blossom die
Punches:  Nellie Snellen punch & emboss rose leaves


Thank you for stopping by,
      ~Anna

Tuesday, July 12, 2016

A Thank You Card and Coordinating Gift Box --- When a Card Just Isn't Enough

HELLO EVERYONE!!!
I'm back!  Yay!!!
So glad to get my "mo-jo" back and get back to blogging!
And I thank you so much for your continued support!!!

So, let's get down to business.
 
Recently I had to thank someone and knew that a card was simply not enough. So being the crafters that we are, I made a coordinating box and filled it with chocolates --- because, who doesn't like chocolate, especially Lindt truffles?

Here is what I created


I have been on a "teal" kick for awhile and had to use it here.  The card stock is from Hero Arts and by sanding the embossed medallion, the white core of the card stock comes through and you get both colors on one sheet!  I stamped and heat embossed the vellum and added the Cheery Lynn butterfly to complete the design.  The box is made from the same card stock with Cheery Lynn flowers and Marianne leaves. The "for you" die is from Impression Obsession.

Clean and simple, yet it makes a nice statement!

Thanks so much for stopping by,
Anna