Showing posts with label Frantic Stamper. Show all posts

Saturday, July 4, 2020

Happy Birthday America!

Happy 4th of July everyone! Wishing you a wonderful and safe holiday weekend!

Today, I have a an appropriate card for the holiday! Being a New York girl, I love this Statue of Liberty die from The Frantic Stamper. When my friend Sue Speck sent me a card using it a few years ago, I had to get it.  Here’s a link to Sue’s blog and her card! She did a fabulous job with the die!  http://acardsmith.blogspot.com/search?q=Statue+of+Liberty+

So, I got inspired with Sue’s card and I started by cutting out 3 navy statutes and 3 silver. I was going to do what Sue did with Miss Liberty.; layer the silver over the navy and paper piece the navy pieces into the die cut. But I first placed the navy die on white paper and noticed how pretty it looked. So, I went a different direction. I decided to mat my navy die on white card stock and use the silver one on navy card stock! I then followed Jennifer McGuire’s advice of always to try to make multiple cards at the same time! And I was able to make 6 cards, basically at one time!

Here are my results:


I’m not sure which one I like better; the white background or the navy. But I think both came out well, and I got 6 for the thought of one card design! Thanks Sue (http://acardsmith.blogspot.com/ ) for your inspiration!

The inside was pretty quick, since happy is one die; also from The Frantic Stamper. And July 4 was also pretty easy, since the alphabet die I have cuts the whole alphabet at one time. Since none of the letters repeat, I only had to cut 6 alphabets. I also have lots of navy letters left for a future project.

Well, that’s it ladies.
Again, have a wonderful and safe 4th and see you soon!
~Anna

Friday, May 26, 2017

Oh, the Ever So Cute Japanese Paper Dolls

I have been having a ball with these new dies from Frantic Stamper called, Kokeshi Japanese Paper Dolls die set. They are just so cute!!! And what's neat is that you can cut out 6 different hair styles with ONE pass of your die cutting machine! I do wish it had more "body" dies, but I did get around that.  Since the die is not detailed at all, I ran two pieces of card stock with the die and therefore got double the amount of base bodies as opposed to only using one piece of card stock.

Here is what I came up with:


And here are a bunch of dolls that I just put together. I had so much fun watching them "grow" and choosing the varies hair styles as well as the different color kimonos. With these dolls, I will be ready to put a card together in just about no time.

And let me show you what the background card stock looks like when I cut out all the pieces.  I used Cosmic Shimmer Pixie Powders to create the backgrounds.  It is very simple to use these powders; just sprinkle on the card stock and mist it with water.  The result is a beautiful shimmery watercolor background! The MICA is these powders is what gives it the shimmery shine which is perfect for this project making the kimonos look like real satin!


Hope you get inspired and start playing with these Pixie Powders.

Have a wonderful Memorial Day Weekend,
Anna

Supplies Used:

Dies:  Frantic Stamper Japanese Dolls, Spellbinders Nesting Scalloped and regular rectangles, Impression Obsession small tags, Marianne Creatables Butterflies set
Other: Cosmic Shimmer Pixie Powders

Sunday, September 18, 2016

The Popular Scribbles Roses

Hello Everyone,

I want to thank the wonderful ladies for coming out to my class yesterday.  We had a very fun and productive afternoon!   The following is the third card that we made in class.

The scribbled roses are so popular and made by many companies now.  When I first saw them, I thought they were just ok. Then I started seeing samples all over Pinterest and they started to grow on me to the point where I ordered the set from the Frantic Stamper and had to try them out.


I've also noticed that the color combo of gold, black and white is very popular now and so I tried it out.  When I think of these colors, I think of an elegant evening dress and I think it came across in this design.

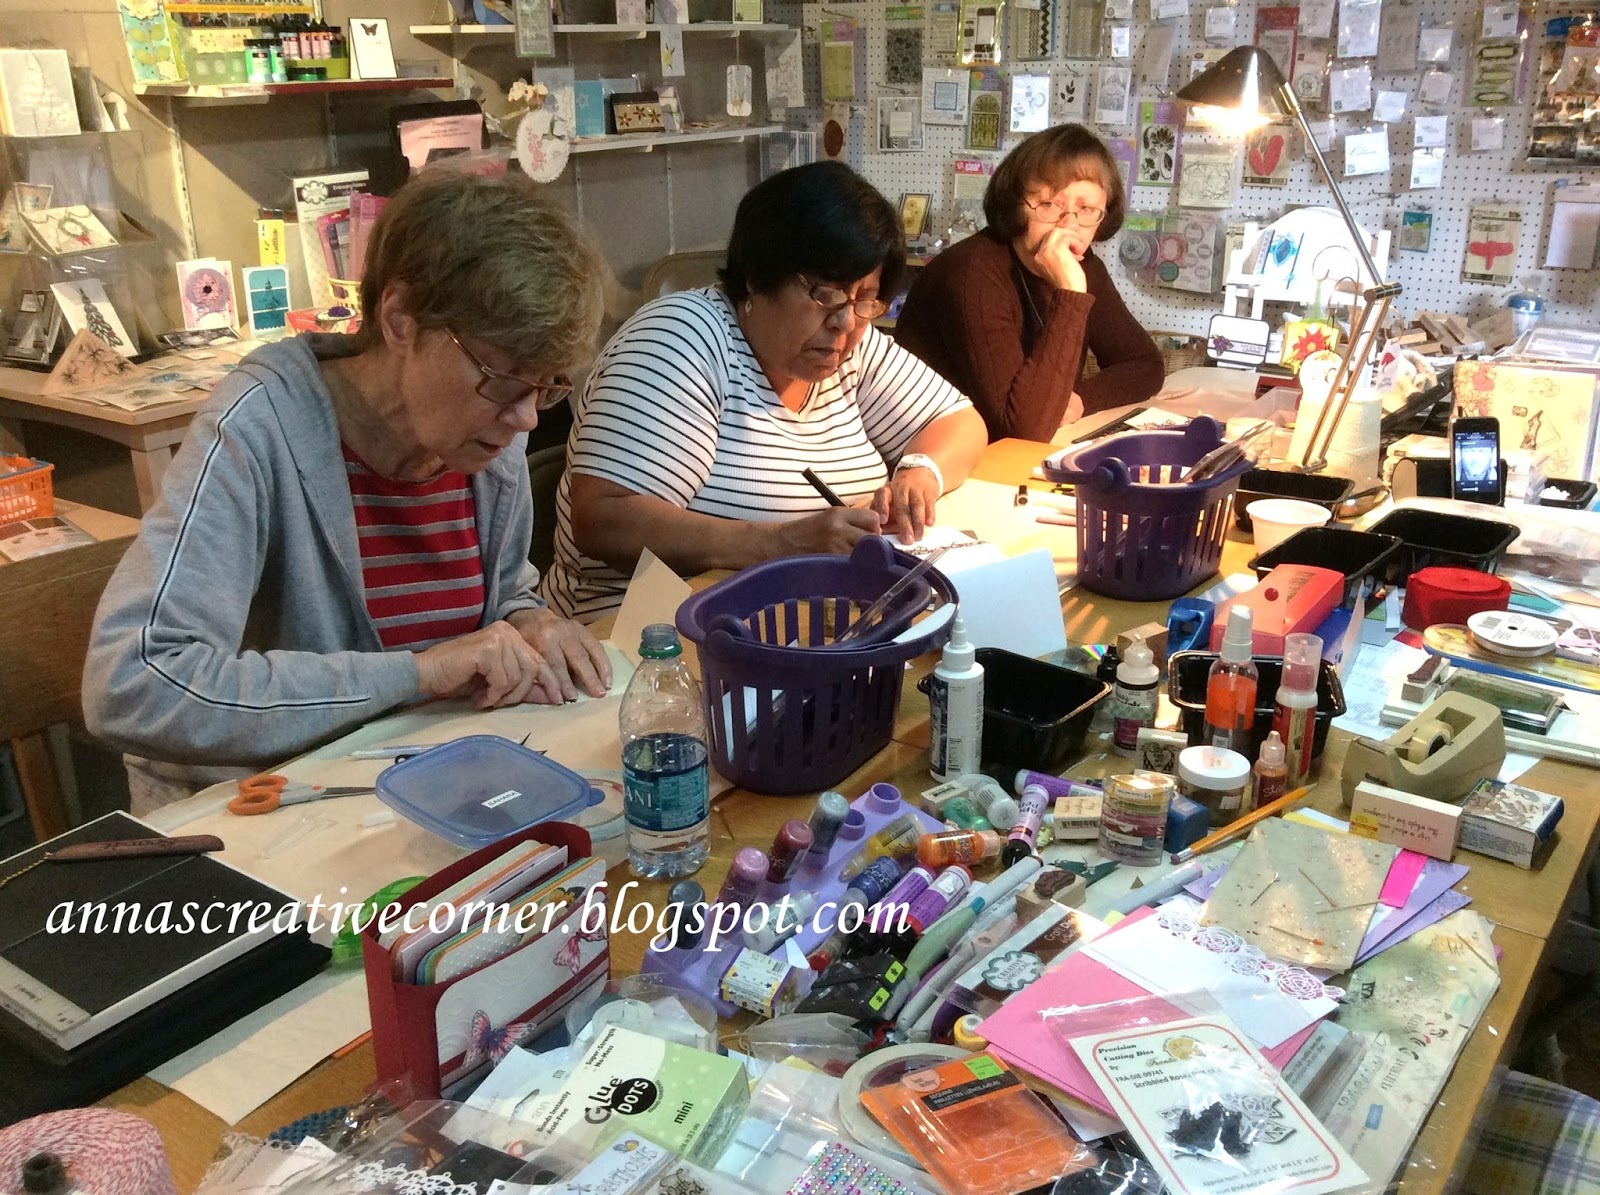
Here are some pictures of the ladies working diligently on their works of art.  You can almost see the smoke coming out of their brains! But believe me, we also had quite a few laughs during the afternoon!  I also want to take the time and thank Ginny for helping with the cutting for the class.  She cut all the black roses!  Thanks again Ginny! You saved me so much time!!!


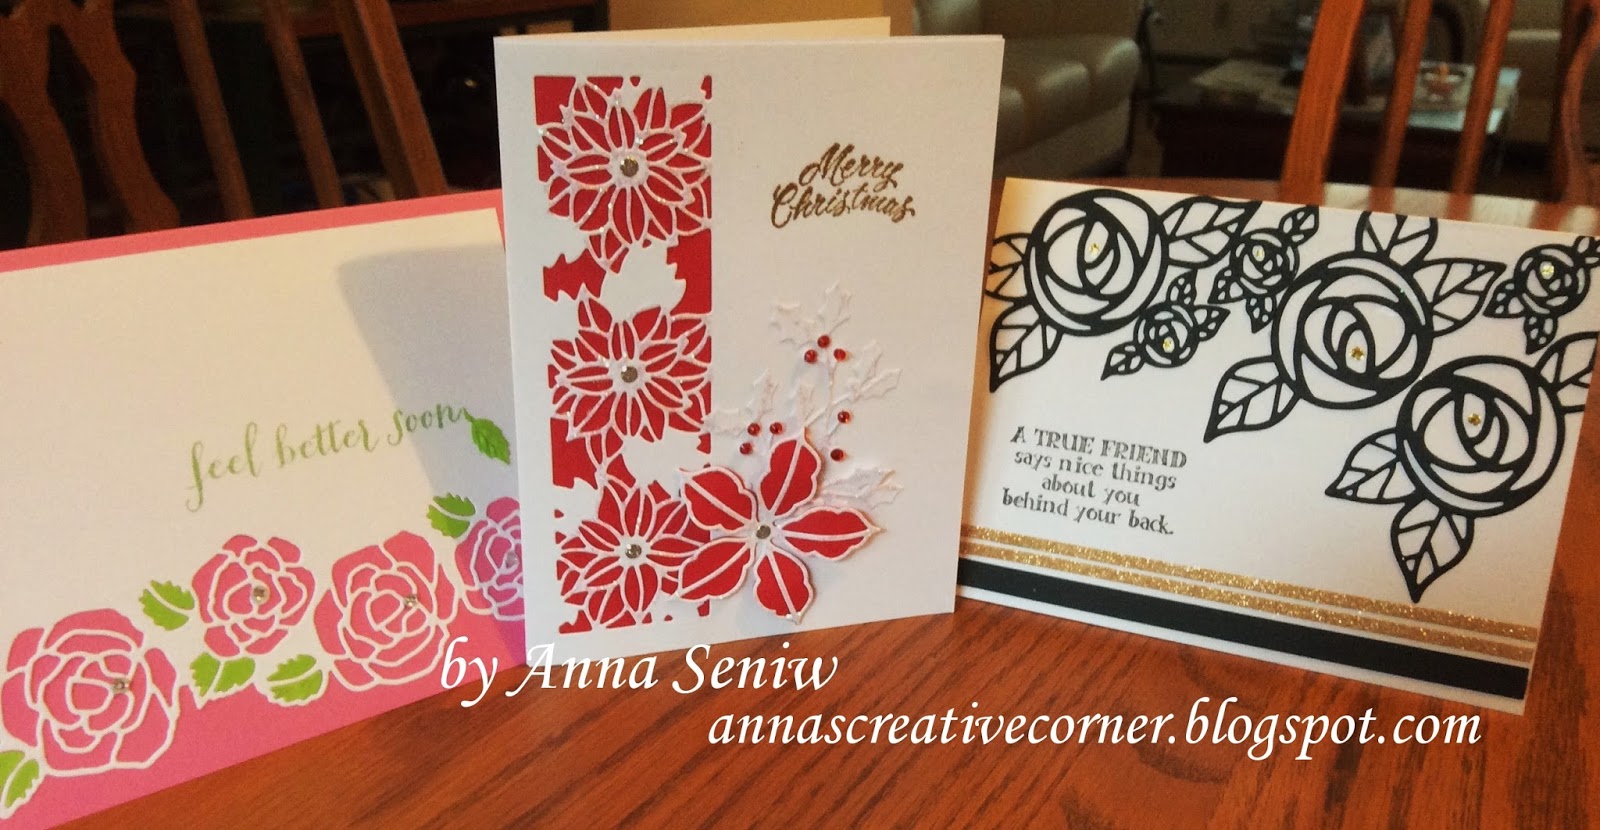
And here is a picture of all three cards that were made in class!


You can read more about the rose border card HERE. And details about the poinsettia card is HERE


Hope you're having a fabulous day and I look forward to seeing you in my next class!
                 ~Anna


Supplies used for Scribbled Roses card:
Dies:    Frantic Stamper Scribbled Roses
Stamps:    Impression Obsession True Friend
Other:   Micro fine glitter in sahara, Gold stickles

.

Friday, August 12, 2016

Beautiful Rose Border

Happy Friday!
Today I want to share with you a new card I made with the new "Rose Border" die from Frantic Stamper.  When I saw the die, I couldn't wait to get!!! And I just received it this week and here is my sample!


A very simple card, but still very pretty and elegant!  In addition, it is pretty quick to make!  The only tricky part is paper piecing the green leaves in the correct area.

This card will be part of the Roses Card class that will be scheduled for next month!

Supplies Used:

Dies:      Frantic Stamper, Rose Border
Punch:    Nelli Snellen rose leaves punch and embosser
Stamp:   Hero Arts

Thanks so much for stopping by,
           ~Anna