Showing posts with label A Muse Art Stamps. Show all posts

Saturday, September 29, 2012

Christmas Martini

I fell in love with this Impression Obsession stamp, Christmas Martini ever since I saw Jenny Gropp's card last year.  Therefore, this year I couldn't wait to get the stamp and use it!

Here is Jenny's card.........isn't it fun!  And check out her blog for a list of Copics that she used.


I started coloring some martinis and thought, wouldn't it be fun to make martinis for different holidays throughout the year?  Change up the colors, cover up the holly,  change the layout and you could be in martinis for a very long time!  (Hmm, not a bad thing!)

So, for Halloween, here is my fun card:

(Don't know if you can see in the photo, but I used glossy accents to make the glass shiny.)

And for fall, I made this card:

I used my tiny floral and leaf punches to cover up the holly.  I added some distress stickles to the centers of the flowers as well as the center of the candy.

I already colored "Lemon drop" martinis and will post that card as soon as I put it together.

Really, you have to try this.........it is so much fun!!!  Just coloring and thinking up different drinks!!! 

Here's the stamp that started it all:


 One little stamp, sooooo many drinks!!! 

Would love to see what you come up with!

Thanks for "stamping" by,
        ~Anna

Wednesday, January 4, 2012

New Calendar for 2012

It's the start of a new year and the perfect time to make some calendars.
This time I used the fun set from Hero Arts, "Going" (CL478).  I really like this set since it lends itself easily to "male cards".  If you remember, I used the VW Bug from this set to make this card.  I used the same basic design to create the calendar, only this time I used the motorcycle.  (This was going to a friend who loves his motorcycle.) 

 The white and kraft card stock was put inside the acrylic frame and the rest (the sandpaper, the motorcycle and the calendar) was adhered on top of the frame.

 I also used the frame differently this time.  Instead of standing it up, like you would use for pictures, I set it down, so that it can go on a desk.  This way the frame will not be hit accidentally and turned over.  Here are the side views of the calendar, to give you some perspective.


Stay tuned for more posts with more calendars!  (I'm on a roll now!)
~Anna

Friday, June 3, 2011

Masculine Cards

I've been getting ready for the Masculine Cards class and having some fun with them.  I guess it's easy for us to make cards with loads of flowers and the like, but not so when it comes to those masculine cards. So here is what I came up with:


I really like the way this card came out!  It was so much fun making it and it reminded me of the good old days with the VW Bug!

And to make this card really fun........I used sandpaper for the road!  Yup, black sandpaper!  I have to say, it really gives it a great look!

In addition, I know many of you own the A Muse stamp, "Cityscape" and here's another use for it!


This was a very simple card using Impression Obsession stamps and only coloring in certain parts with a white pencil.  Simple, yet very striking.

Hope I have inspired you to get your creativity going for Father's Day; it'll be here before we know it!
Or, you might want to join us for the Masculine Cards Class.......then you'll have the cards all ready!

Thanks for stopping by,
Anna

Wednesday, April 20, 2011

"Mr. & Mrs." Wedding Card

Just wanted to post one of the cards that you will be able to make in the Wedding class on Saturday, April 30.  For this card, you will learn how to make those cute little paper rosebuds that were cut from the "Creatables Rosebud" cutting die.  Don't be left out..........these paper flowers are the latest craze!


I really like the way this card turned out........very clean and simple, but elegant at the same time.

Hope you'll join us.  You will make several cards, emphasizing a different technique on each card, while listening to favorite wedding songs and even enjoy some dessert!  Call to reserve your seat today!

Sunday, March 6, 2011

Bicycle Make & Take on the 12th!


Bicycles are the rage right now and so here's the neat, quick Make & Take you can create on the 12th! You'll use the Hero Arts Bicycle stamp set and the envelope pattern background, A Muse saying, distress inks, a red marker and a few crystals. It's a great unisex card!

See you soon,
Anna

Tuesday, February 8, 2011

Bicycles!


Bicycles seem to be cropping up everywhere now. I have seem lots of bicycle stamps from various companies. And so, they began to grow on me.

Two of the cards I made is for Valentine's Day. But change the saying and they make great masculine cards! And we always need help with those!

The tandem bike with the heart balloons was stamped on vellum and the clouds were stamped on the white cardstock underneath. I was trying to get the look of the bike floating in the air. I also added a crystal to each of the wheels, just for some extra sparkle.

I had to add butterflies to the other card......I just love that Hero Arts butterfly set. It goes with so many things. When I'm looking to add that something to a card, it seems I've been going to those butterflies a lot more often now. I think I'm wishing and so looking forward to spring.

The tricycle reminds me of the one I had, though mine had quite large maroon fender over the front wheel. Those were the days! I used some distress ink to make it look a bit old and added some really fine red thread to the handles. Boy, did it bring back memories.

Hope you'll start thinking of some ways to use these bicycle stamps. It really is soooo much fun!

Tuesday, February 1, 2011

Let's think spring.......


With ALL this snow.....I think everyone is dreaming about spring.......I don't think it could come soon enough for us!

I guess stamping pretty flowers will have to be the next best thing for now! At least we're lucky enough to have pretty flower stamps!

I have to say, that I really like the color combination in this first card......I never would have thought of yellow and pink, but I was inspired by a sample on the A Muse web site and came up with this.

I colored the large flower with Copics. I also cut the flower apart and pieced it together for the card and adhered it with dimensional tape.

Those flower stamps are so versatile and they are in stock. If you'd like a set, just call and I can mail them to you!


Here, I used the same large, outline flower and stamped it with white Staz-on ink onto the acetate card. It made a great background and an unusual "clear" card.

Enjoy your day and stay safe and warm,
Anna

Friday, December 3, 2010

Dashing through the Snow!


Thankfully, you will not have to be dashing through the snow tomorrow in order to get to the Christmas Open House. It's going to be sunny, but a bit cold...........so, come in and join the fun!

Tuesday, November 16, 2010

Pretty Additions for your Thanksgiving Day Table


Here are two simple additions you can make for your Thanksgiving Day table. I used pre-printed Memory Box paper, an embossing folder and some Nestabilities and made a place setting card and a favor bag to hold chocolates. I just added stamped images from A Muse, colored them with Copics, used antique linen distress ink over them and put it all together.

Join us in class on Thursday, Nov. 18 and you can have these and a decorated candle for your "turkey" table. Won't your guests be surprised with these special touches waiting for them at their place setting.

Wednesday, November 10, 2010

Happy Thanksgiving Day Card


I just love the "Pumpkin truck" from A Muse Stamps and today I got to complete a card with it.

I wanted to do a simple and quick card, so I stamped it and colored it with Copics. I cut it out with the Spellbinders Nestabilites. I then used some distress inks (antique linen) to make it look "old". I stamped the saying and then ran the card stock in an embossing folder.


Now, don't forget to decorate the inside.

I stamped the sayings from Stampendous and then wanted to add some color. So I took out my Rubber Stamp Tapestry stamps (yes, haven't used them in a long time) and stamped around the sayings.

Think about how you can decorate the insides of your cards.

Thanks for stopping by,
Anna

Monday, November 8, 2010

There was NO STRESS in the Distress Class


This past Saturday Barbara and I taught the "To Distress or Not to Distress" class and we all had a blast laughing all the way through class! True, the ladies looked very serious here; concentrating on their work. But once we started rolling, we were even singing to the music that was playing and getting lots of cards and tags done. (Click here to see some of the cards they made.)


Here is one of the non-distressed tags. We used a beautiful snowy scene from Stampendous and lots and lots of glitter.


This tag was also non-distressed, with an A Muse saying and an A Muse tiny Santa hat. The tag was cut with the nesting European dies. The poinsettia was punched and then embossed with the special punch set.

Please check the blog tomorrow for the picture of the distressed tag. (Unfortunately, I forgot to bring the tag home to scan.)

Thanks for stopping by and see you tomorrow,
Anna

Tuesday, November 2, 2010

Oh My Gosh, It's November Already!


This past Saturday, Sherry Czarnecki, A Muse Art Stamps Instructor, visited The Creative Corner again and held 2 classes.
Here, we have some of the ladies working on their fall cards. Most of the techniques were easy, but the results were stunning.


These are the completed cards; everyone was very pleased with their results.


And while we were working, there was a "Pet Halloween Parade" in town! Unfortunately, Maryanne couldn't be in two places, so she stopped by to show us her entry. And I just loved it --- Rich Witch with her Super Dog!!!


And no class is complete without the chocolate treats!!! This time, Hazel the Witch was used to decorate the treat bags !


Lastly, here are the completed cards from the Christmas class. Lots and lots of glitter was used!!! Believe me, it's still all over the store, and I love it. The table and the floor is just sparkling in the sunlight!

Thanks to all who came out and stamped the day away. It was lots of fun and great therapy for all!

And thanks Sherry for another fun day of stamping. Looking forward to seeing you again in the spring! (Oh my gosh --- did I say spring?!?)

Monday, October 25, 2010

Sherry's Coming this Saturday!


Boy does time fly!!! And so, this Saturday, October 30th, Sherry will be here again.

Here is just a sample of what you can make in either the Fall Cards or Christmas Cards class.

Oh, I just love the glitter on this first card!

And here's a really nice way of using the icicles border punch.

Isn't this just a perfect Thanksgiving Day card?

Hope you can join us! You'll be able to get lots of ideas for your holiday cards and, of course have lots of fun doing so!

See you soon,
Anna

Tuesday, October 19, 2010

"A Very Merry Christmas" Card


While I was in Canada, I saw a beautiful card made by Nancy, of Ecstasy Crafts, and here is my take on it.

I just loved the color combination and the simplicity of the flowers.

The window was cut with one of the European nested labels die, the flowers were the daisies die set and the swirls were from another set. I used an embossing folder to get the textured dots on the card and I stamped and heat embossed the saying on the inside label. Stickles were added for the finishing touch.

Just think, stamp the appropriate saying you need, and you can use this card for ANY occasion.

Stop by this Thursday (Demo Evening) or Saturday for Demo Day and see how easy it is to use dies to make this card. You can also substitute the new embossing flower punches and get the same look. Hope to see you!

Hazel, the Witch Owl


Hi Everyone,
Today I wanted to put together a Halloween card with the ever so cute, Hazel, the witch owl from A Muse. I also challenged myself to use two different cutting dies, but from totally different sets.

I have to say, I'm very pleased with the outcome. I colored Hazel with Copics and then cut her out with the Classic Scalloped Circles from Spellbinders. I then layered her on an Opened Scalloped Square cut from the European dies. I then ran it through the Big Shot in an embossing folder to get more texture. I also used the same folder for the white background that everything was layered on.

It was fun getting so much texture on the card as well as using different die sets. I know that we tend to always use dies that nest, but as you can see, you can get a whole new look by mixing up the dies. Try it yourself, I think you'll be surprised and like the new looks.

P.S. I just realized that I actually used 3 different die sets. The tag that was stamped with "Wicked" came from the Open Scalloped European rectangle set. So, there you go, 3 different sets. See how many sets you can use in a card.

Sunday, July 11, 2010

New Memory Box Cards!

I just couldn't wait to stamp with the new Memory Box stamps!!!! Here are 3 cards I already made.......and all of the cards are really simple designs; you will be able to make several of each of them to send out to friends! I can't wait to get back to work on Tuesday and make more!

This first card, I used the "old fence" and printed paper from Memory Box and air brushed with my Copic marker to get the column of light on the crow. It was so much fun. You can stipple or use a dauber to get a similar effect. The wicked stamp is from A Muse.
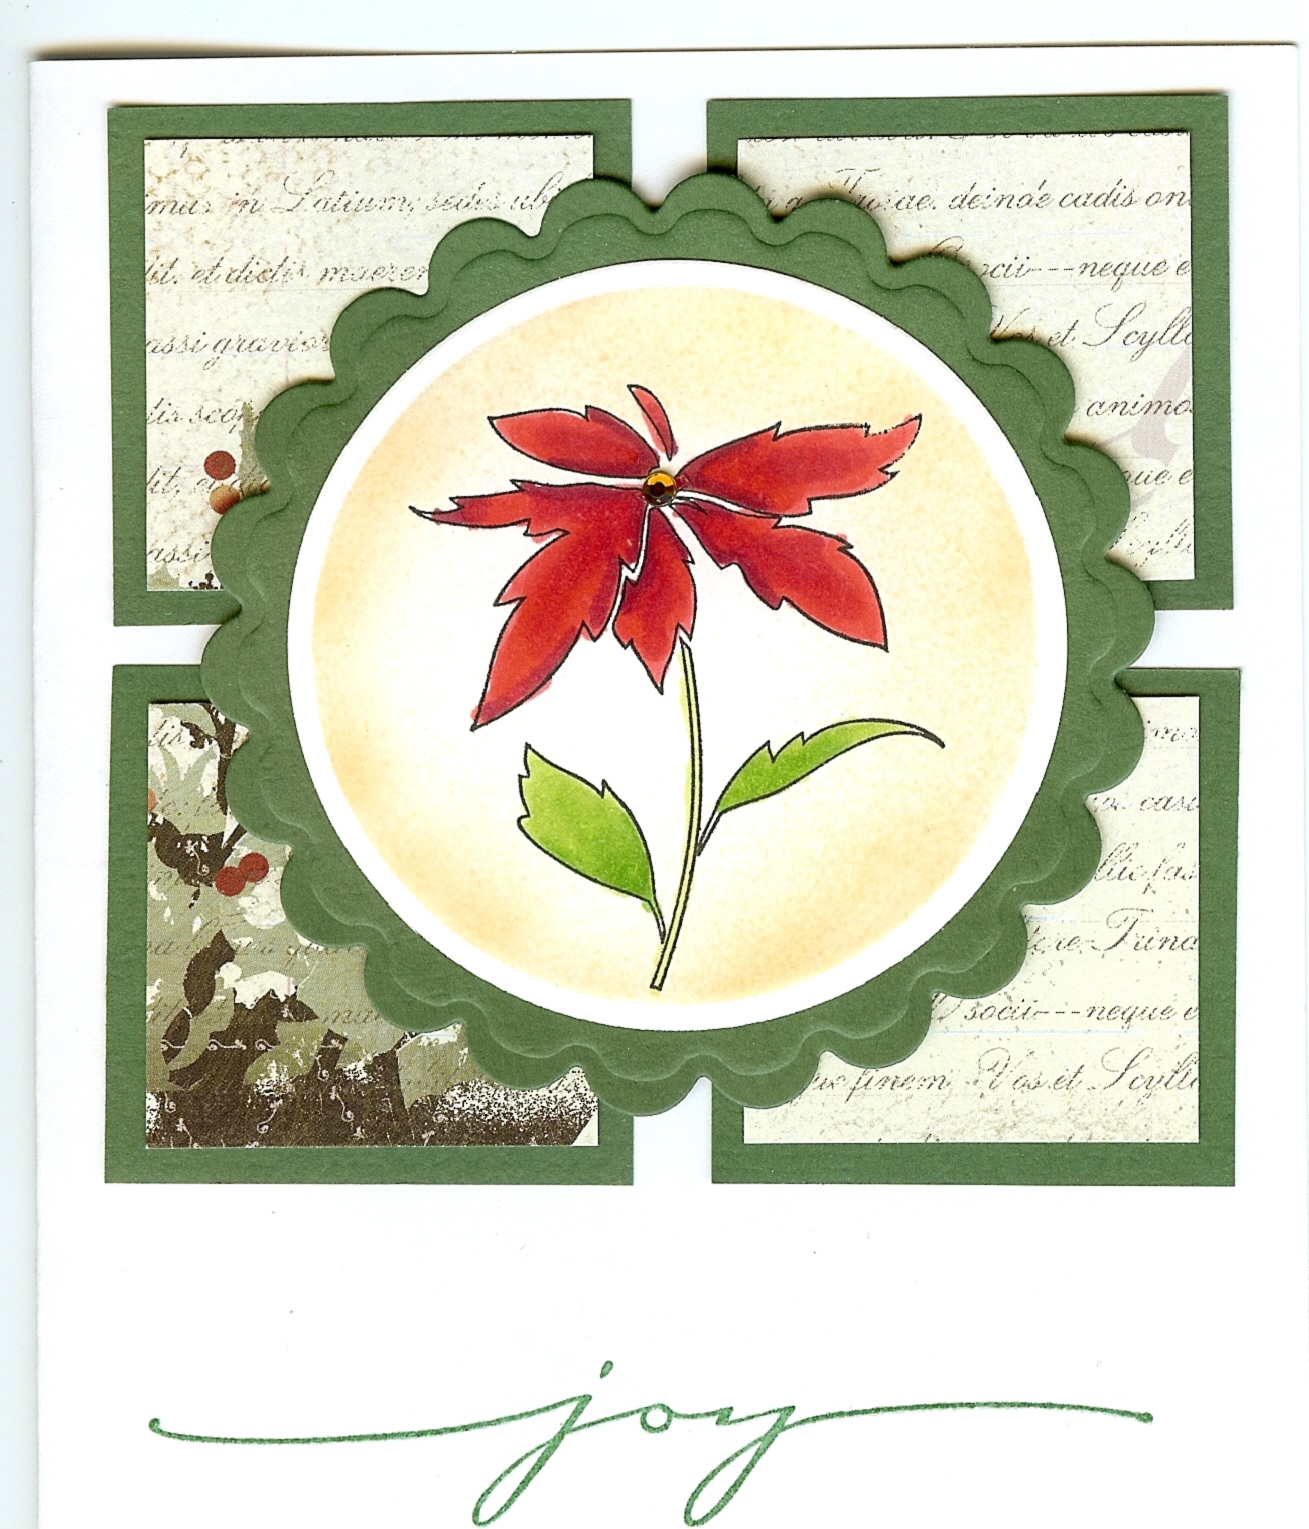
For the "Joy" card, I used Memory Box paper and Spellbinders Nestabilities to create the shapes. I colored the poinsettia with Copics and air brushed the background.
Lastly, this card was inspired by Dave.......he designed a similar card 2 years ago for Make & Takes. This time I added Fred P. bear, added a Design Adhesive for the glittered snowflake and lots of glitter and stickles. I just love that cute polar cub.......I've been using him on lots of little projects. Those who come to Dave's classes, will be treated to a surprise and will be the first to see him pop up all over the place!

Join the class on Thursday, July 15, at 1PM, and you can already have these 3 cards for the upcoming holiday season!

Thanks for stopping by and see you soon,
Anna

Sunday, June 20, 2010

Video of Sherry's Classes!

A Muse Instructor, Sherry Czarnecki, was here yesterday and we just had a ball! She taught 2 classes; Special Copic Techniques and Cards with Different Folds. We used the Amuse "Sea of Love" stamps in both classes; which is just perfect for the summer.

We stamped, colored, laughed, and ate! What more could we have asked for?
Hmm,...........maybe the Copic air compressor as a door prize? Or some adult beverages?
No, it was just fine. We were just high on good old rubber, ink and friends!

Thanks Sherry for a wonderful day! And thank you to all who came and help make the day a huge success!

Sit back and enjoy the video. Hope you'll be able to join us at our next class.
Thanks for stopping by,
Anna


Wednesday, June 16, 2010

Bridal Shower Invitation

Wouldn't you want to get this gorgeous invitation in the mail? Well, Ronnie Dickman made this for her daughter's bridal shower. What a wonderful job!!! The picture does not do it justice. Believe me, it is so beautiful and elegant.

Ronnie used Amuse card stock that was pale pink on one side and white on the other. She printed the invitation details on the pink side, then cut out the gown, added some punched flowers, crystals and ribbon. The final touch was the special, policy style business size envelope, which has the flap on the top.

Hope this helps you think of different ways to use this kind of card stock. Both Amuse Art Stamps and Memory Box have this "duplex" card stock in many colors. Stop in and see what is available for your next project.

And again, thank you Ronnie for the wonderful card!

Friday, June 11, 2010

Tomorrow's Make & Take

Here's tomorrow's Make and Take --- just in time for Father's Day! Hope you'll be able to join us and make this great yet simple card.

Thursday, May 20, 2010

Samples for Sherry's Classes

Sherry will be at the shop on Saturday, June 19 to teach two classes! Here are the pictures of the sample cards for the classes.

These are the cards that you will make in the Special Copic Techniques class. You'll get to try airbrushing over a stencil, sunset background blending and copics on your stamps.


And these are the cards for the Summer Sea Theme Class. You'll also get to learn and make unique and different folds for the cards!

Looks like we'll have another great time at The Creative Corner!
Don't forget to register today. Seats are filling up quickly.
Thanks for stopping by,
Anna